LiteSpeed WordPress Plugin for Caching

Discover the step-by-step process of installing, activating, and linking your LiteSpeed WordPress Plugin to QUIC.cloud. The 2025 newest Version 7 is much easier to connect to your domain. And, learn how to overcome the most misunderstood and problematic setups involving this world famous LiteSpeed Cache Plugin for WordPress. Finally, this article is a part of the “Recommended WordPress Plugins” category that has more related posts.
Phases Overview of LiteSpeed Plugin for Full Usage
Here are the sequence of event phases for optimizing the full usage of the LiteSpeed Cache Plugin.
- Install and Activate the LiteSpeed Plugin (this article).
- Establish basic, easy beginner settings on the LiteSpeed Cache Plugin (this article).
- Create a free QUIC.cloud account (this article).
- Link your website (domain) to QUIC.cloud account (this article).
- Assign domain to a QUIC.cloud CDN (several options).
- Customize Intermediate and Advanced LiteSpeed plugin settings for maximum features and optimization.
LSCache Plugin Needs A Domain Key
Your LiteSpeed Cache Plugin (General Settings) needs a domain key to use any of these QUIC.cloud services. The new version 7.x of the LiteSpeed WordPress plugin handles it automatically!
- Content Delivery Network (CDN)
- Image Optimization
- Critical CSS Generation (CCSS)
- Unique CSS (UCSS)
- Low Quality Image Placeholder Creation (LQIP)
- Viewport Images (VPI) used for customizing bypassing Lazy Load functions
You’ll now begin with getting populated the LSCache Plugin Domain Key text box. You can use LiteSpeed Cache for a primary domain or an addon domain.
You only need to already have the classic, free LiteSpeed Cache Plugin for WordPress (lscwp) installed and activated. After that, there are some other prerequisites. Here are the steps to move forward with.
Steps to Get & Start Using the LiteSpeed Cache Plugin
These LiteSpeed cache plugin key steps are solid after 3 years of testing with the most common expert tips included. A lot of the unnecessary details are excluded but it still covers every setting and prompt known to occur. It’s been testing with several host providers and several hosting plans. Regardless, if you don’t see something covered you’ve experienced, check out the LiteSpeed Documentation on this subject of “LiteSpeed Cache General Settings“.
Step 1. Install and Activate the LSCache Plugin for WP.
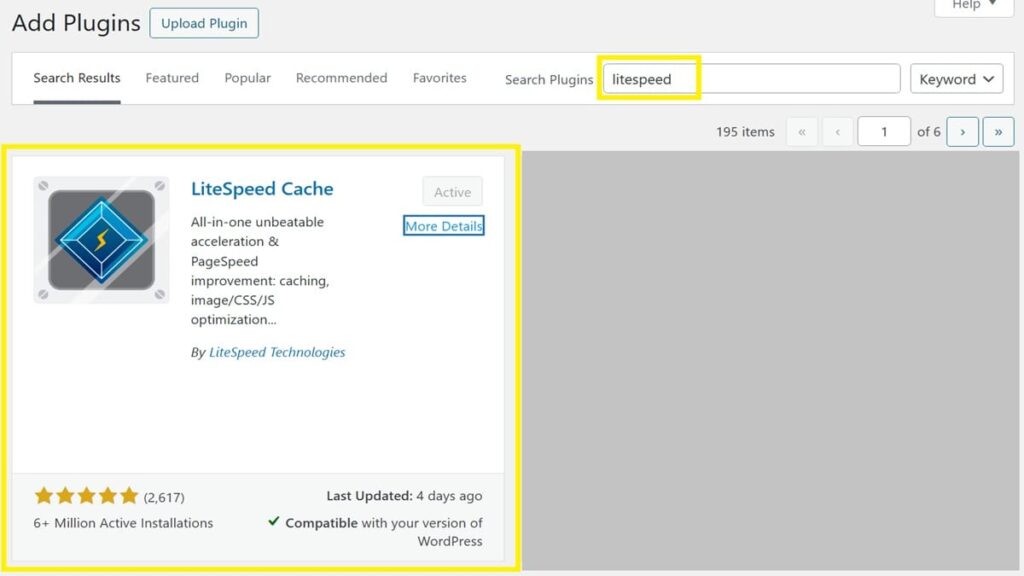
First, ensure you’ve installed and activated the free LSCache plugin, aka the LiteSpeed Cache Plugin for WordPress. When adding a new plugin, find it easy using the search keyword “litespeed”. Here’s what it looks like when locating it.
Step 2. Starting Settings
On the LiteSpeed plugin, tap its “Settings” option. You now have 3 options.
- You can accept the recommended default settings for now. There are several options shown from minimal to aggressive caching.
- Import any previously saved settings, if you’ve used this plugin before.
- Manually decide your own customized settings.
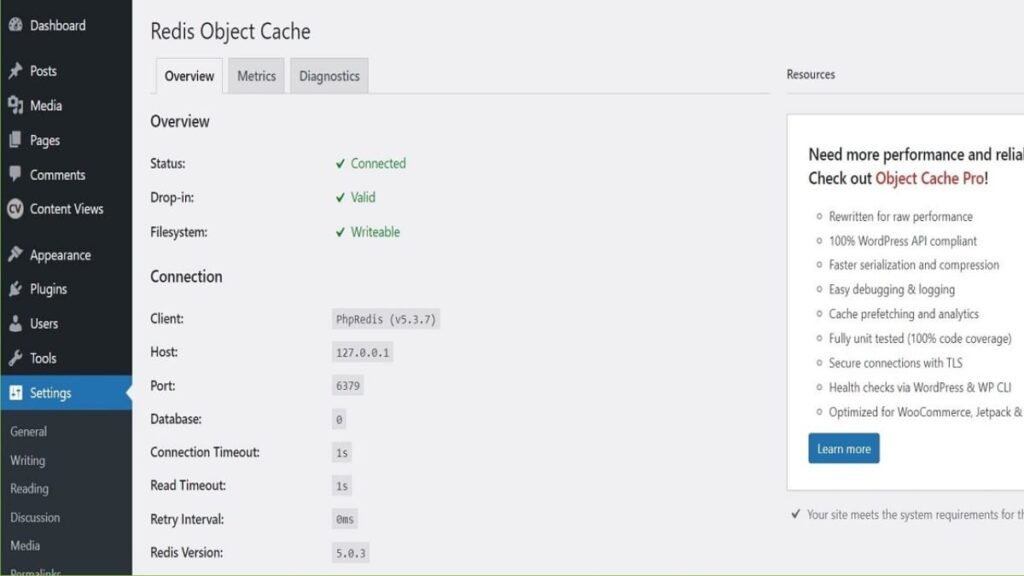
At any point you receive a message indicating a cache service has stopped, e.g., redis or memcached, feel free to go ahead and restart that service. Sometimes changes you’re making require it to be stopped. It’s a good idea to start it up again and keep it actively running when you see those messages.
Step 3. Register for a Free QUIC Cloud Account
Ensure you have an account (free) setup at Quic.Cloud. If you don’t have one yet, register for one. It’s fine to use your current domain for that initial setup but it’s not required to have any domain listed there yet. This post’s procedural steps are designed to do that for you while getting a domain key.
Step 4. Re-enable your Redis or Memcached Service.
- After tapping to SAVE your General Settings screen that contains your now populated domain key, tap the notification’s URL named “enable the drop-in”.
- You’ll be taken to the Redis or Memcached setting. Just tap the <Enable> button(s) to get those services started again.
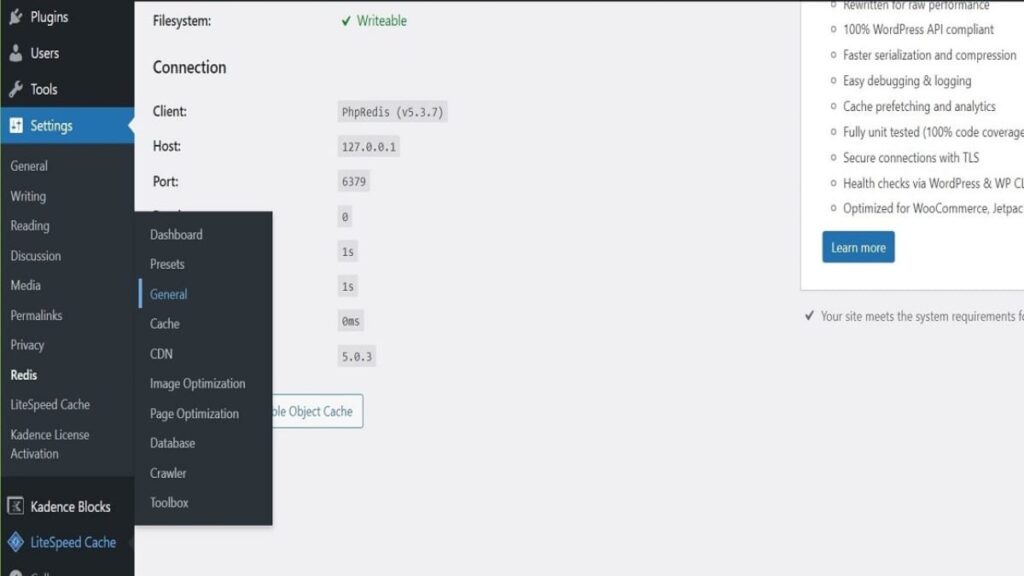
- Then, return to finish your domain key work by going to WordPress Menu: LiteSpeed Cache | General. You’ll be back to finish the last step on the General Settings screen.
Step 5. Link Domain to QUIC.cloud
After going to the WordPress menu path “LiteSpeed Cache | General”, you’re ready for the final step. You’ve returned to the General Settings screen. Your LiteSpeed domain key is still showing populated (with asterisks) in its text box. Here is your last procedure to follow.
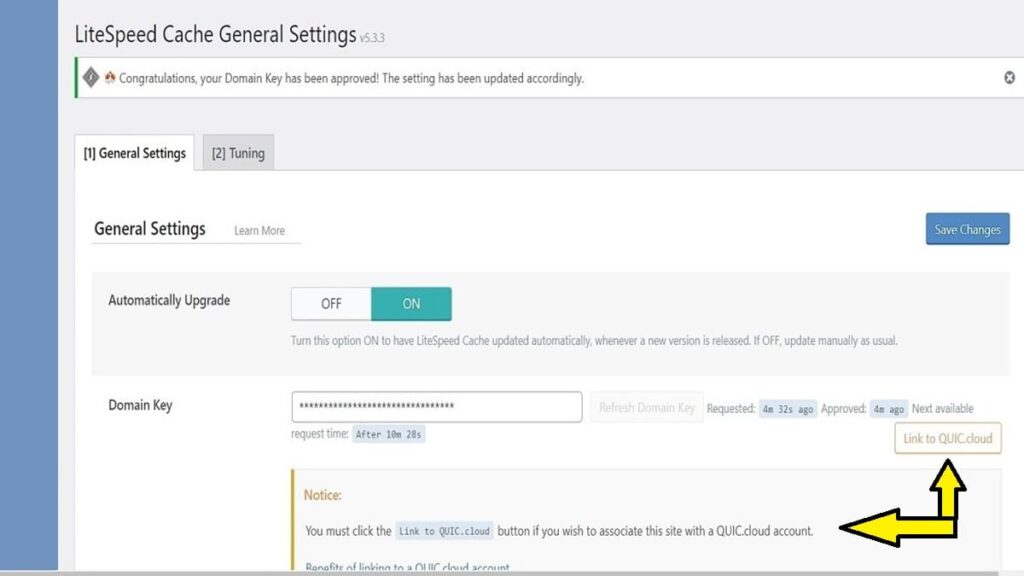
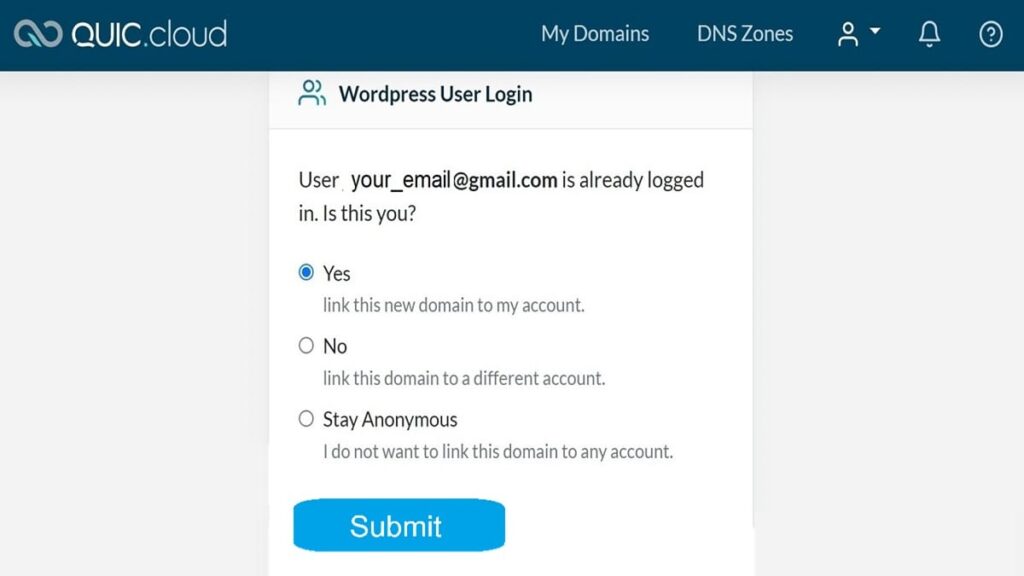
- Now, tap the <Link to QUIC.cloud> button.
- Then, respond to login to your QUIC.cloud account.
- Respond “Yes” to the prompt.
- Tap <Continue> (or <Submit>) for completion.
Step 6. Final Follow-ups to Linking your Domain to QUIC.cloud
Now that you’ve linked your domain name to QUIC.cloud, you’ll want to ensure your host provider allows all the QUIC.cloud IP addresses shown LiteSpeed Cache | General Settings screen. By allow, I do mean to pass through their firewall for your LiteSpeed cache service. They’re also listed in the URL named Current Online Server IPs.
One way is to copy and paste the list into a support ticket but also send the URL, in case they have a way to maintain that list. And, in your request, if you’re not using a shared server, you’ll want to ask them to assign the permissions to the entire server, not just to your domain. That way, if you add other future domains (or also addon domains or subdomains) on that server, you won’t have to repeat that support ticket again.
Step 7. Confirm Your QUIC Cloud Domain Key is Working
After about an hour or so, you’ll notice the “nodes” will start to expand and appear on that General Settings screen. If not, you might have to wait until your support ticket has been concluded with the IP address permissions assigned.
Step 8. Export to Save Your LiteSpeed Settings
From the LiteSpeed menu, go to “Toolbox” and tap the tab “Import / Export”. Here you have several options:
- You can review that screen for saving your settings using the export function.
- Also, you can use its import function whenever you need to restore them from the last saved version.
- Finally, it also has a <Reset Settings> feature for starting completely over back to the default starting point.
Conclusion of LiteSpeed WordPress Plugin
Now you’ve seen the step-by-step process to get and start using the LiteSpeed plugin. You’ve also learned to register your domain by getting a free QUIC Cloud account . Also, you know now that it’s required to have a LiteSpeed Cache Domain Key and it’s automated in order for the caching settings to start working. Your next steps are to customize the intermediate and advanced settings, including using the CDN for getting access to the rest of this plugin’s features and functions.
Other Related Articles
Here are some other related articles you might find helpful.
- LiteSpeed Support (includes Docs, FAQ, Forums)
- LiteSpeed Cache Plugin
- Build or Rebuild Website Guide (includes when to add the LSCWP plugin)
- My WP Plugin List
