This is your full guide on how to install WordPress using Softaculous cPanel, step-by-step. There are lots of pics, expert tips, and helpful links for more WordPress related knowledge. I’m a former manager of technical writers so, this should be very clear to follow. Also, see other related items in my “Setup WordPress Website” category. Finally, this is one way of how to “Install WordPress from cPanel: 3 Ways“.
What is Softaculous?
Softaculous is a classic popular apps installer with many website host providers. It requires licensing fees so some hosting plans might not include it, or they might include it for an added recurring cost. Also, there are a bunch of competing alternatives so, it’s all dependent on what the host decides to buy to pass along to their customers. Regardless, both cPanel and Softaculous are standards that most people have used at one time or another. And both continue to advance their improvements. For further reading, check out Softaculous Docs for their extensive knowledge base.
How to Install WordPress in cPanel using Softaculous
- Some cPanel licenses with your host allow you 1, 5, or more accounts. So, logon to cPanel with the user account you want to always use for this new site. If this is your first website, then, the account won’t matter.
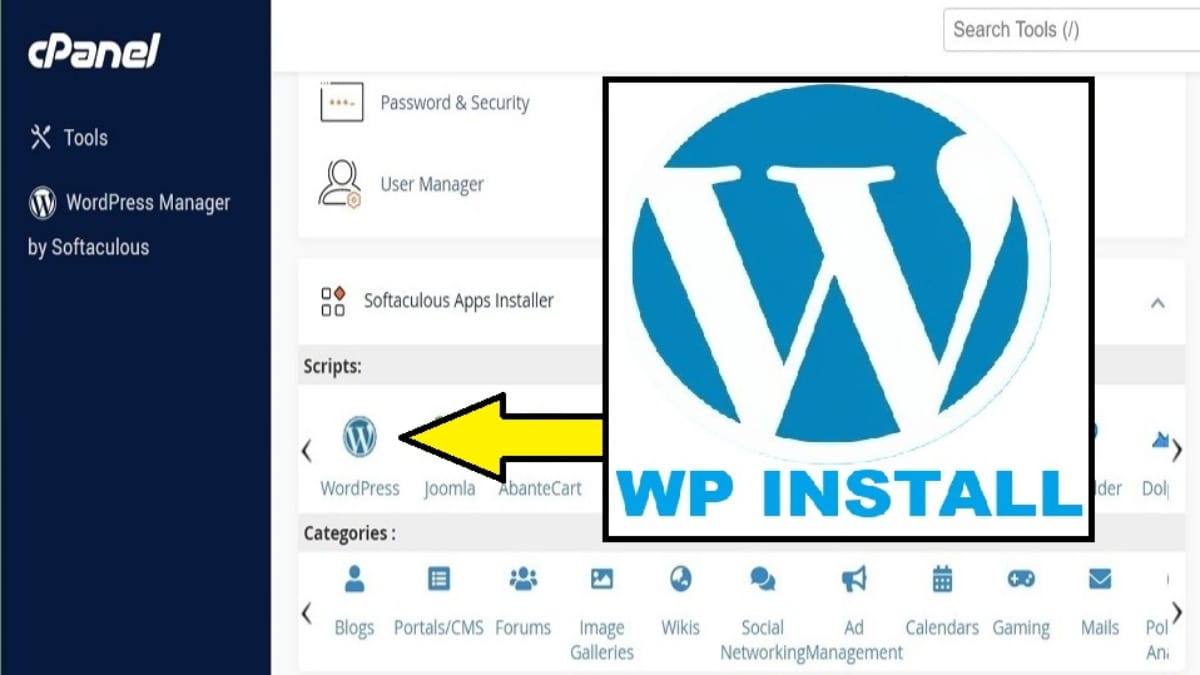
- In cPanel, scroll down to the bottom where the Softaculous section is shown with its horizontal list of apps. Tap on the WordPress icon.
- At the default “Install” tab, tap <Install Now>. Then, the options screen will appear.

Software Setup Section
- Fill in the Software Setup options like these.
- Protocol is usually: https://
- Domain Name
- Leave “In Directory” empty
- Tap the WordPress dropdown version to be the latest version (usually the 1st at the top).

- You now must perform only ONE of these 2 options:
- Option 1: If you tap <Quick Install> and it will have minimal remaining prompts since it will use nearly all default settings. If you do receive any prompts (e.g., creating logon credentials), look for any applicable step below for its recommendations.
- Option 2: If you do NOT tap to “Quick Install”, just scroll down its screen to fill in or customize any of the shown settings.
- The following steps apply if you did NOT previously select to tap “Quick Install”. Continue to scroll downward and follow the next steps for a continuation of setting more detailed options. After all options are filled in, you’ll have the regular install button to use.
Site Settings Section
- Site Name: Give your site a user friendly short name. It can be changed after Installation at any time.
- Site Description: Fill in this text box with a slogan. It can be changed after Installation at any time.
- Options for Multisite or WP Cron: I never select these. If you’re unfamiliar with them, it’s best to continue without selecting them.

Admin Account Section
Here you can define your starting WP-Admin logon credentials and email address. Later, you’ll want to consider changing the logon path, or resetting the password. Here’s a good article on “Default WordPress Credentials: What You Need To Know“.

Advanced Options Section
These advanced options include an important piece of your site, the database and its tables. This is very hard to change later and risks being buggy with future plugins that don’t look for changed database or table names. For further reading, here’s all about “The WordPress Database” by the Learning Team directly at WordPress.org.
- Database Name: The database prefix is predetermined based on your domain name; however, you can change the ending part of its name if you want. In planning for the future for possible addon domains, I always change this portion to be something short like “main”. This can’t be changed later.
- Backup Location: I leave this at “Default”.
- Backup Rotation: Because of the previous “Backup Location” setting as default, this item is disabled.

- Table Prefix: I usually change this to be a very short representation of the domain name and always end it with an underscore (_). For example, for domain name of DarnGoodRecipes.com, I’ll enter “dgr_” for the table prefix. This can’t be changed later.
- Auto Upgrade: I typically select “Do not Auto Upgrade”. This can be changed later if desired.
Select Theme Section
- Depending on your host and anything that you might have already done, this typically will just show one or more default WordPress themes.
- I will typically just tap the latest shown WP Theme.
- Tap <Install>.

- For remaining prompts, if presented, here are the selections I use.
- Tap <Select Theme>. I tap on the latest default WP theme.
- Image Copyright, tap <Yes>.

Email Address and Install
- STOP! The sequence here is off so, follow these steps.
- First populate the email address shown below the Install button. You’ll want that email as it has a lot of good info for possible future referencing.
- Then, tap <Install>.


Install Completion
After the installation is done, which usually only takes about 10-20 seconds, you’ll get a completion notification. Also, if you filled in the last step’s email address, you’ll get the detailed report of the new website.

Expert Tips on How to Install WordPress Using Softaculous
- Since some things are irreversible, have a backup plan to reset it and start over. If you don’t have any, ask your host. cPanel and WHM have backup methods for a clean restore to a previous point in time. Just be careful in case you have other subdomains or addon domains ties with the one your working on.
- You can use Softaculous to reset your WP site and start over for a fresh install or a full WP deletion from a domain.
- Take notes or consider easy screenshots to save along each step. A good reason for this is in case you need to repeat all these steps if you decide to perform a previous backup restoration.
- Take heed on some settings that are only offered during this installation. like database name and table naming. While there are plugins available for changing those later on, you might have other plugins that have already permanently stored that original info. If you have a strong need to do this too far down the road, look at my “Build or Rebuild Website Guide“.
Finally, here are steps in a great host’s knowledge base article: InMotionHosting shows how to install WP using Softaculous.
After Installing WordPress: What’s Next?
So, now that you’ve installed WordPress, what’s next? This is where you now get to set your website up the way you want it. It involves a lot of things like building the website, creating navigation pages for header and footer, and basic initial pages.
Also, part of the early next steps will involve installing several plugins. So, here’s my “Recommended WordPress Plugins” category. And, there’s a Softaculous Plugin available for managing sites and other features. So, that’s a thought for down the road if you end up with several sites you’ve installed using these methods.
Conclusion
Now you’ve seen literally every single item that requires an entry, every button to press, and the final results of installing WordPress in cPanel’s Softaculous system. Also, you have some links provided for more info on different options or details behind a step. Finally, you have links to proceed on post installation phases. Now, tell me in the comments how yours went, and share this post!